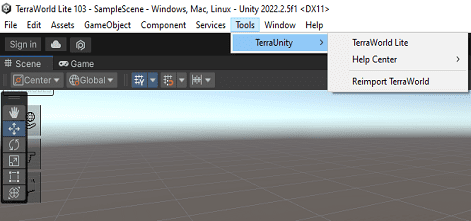
Step 1 – In Unity, from the top menus go to “Tools”
Step 2 – Select “TerraUnity” from drop-down menu
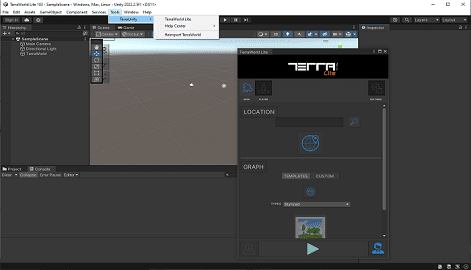
Step 3 – Now click on “TerraWorld Lite” on drop-down menu
This will open the plugin window and you will have access to the program content.
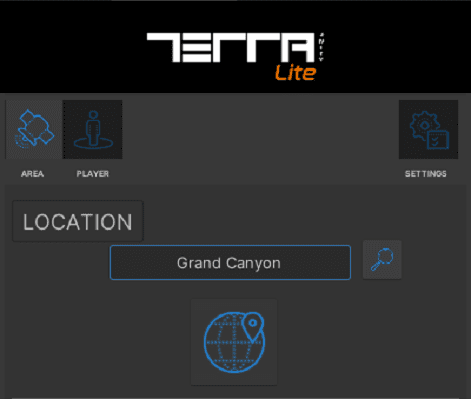
Step 4 – Select Area Tab
This is where you define world location and area size along with s managing graphs to save/load customized graphs or load pre-made graphs that comes with TerraWorld Lite.
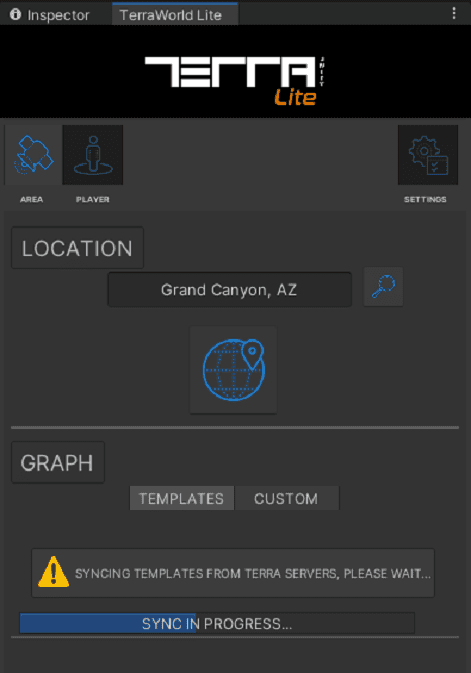
Step 5 – Set Location
Type in a location name or address anywhere on Earth into the Search Field. Pressing Search button will bring up a results window where you can set the center location for generating world. For example : Grand Canyon
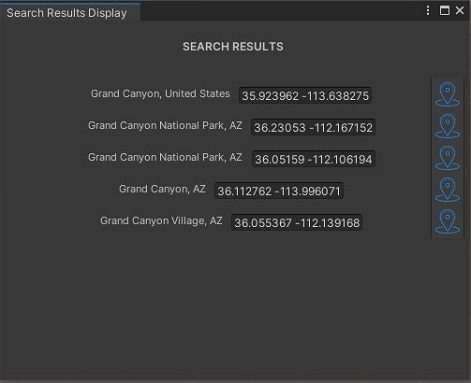
Step 6 – Search Result
Pressing Search button will bring up a results window where you can set the center location for generating world. Now you can choose the final option from the results
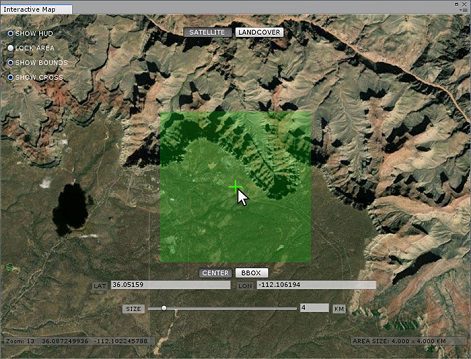
Step 7 – Interactive Map Window
The Interactive Map is a dockable window which gives users the ability to navigate the entire Earth through a Satellite Image or LandCover style 2D map. The green square represents the area to be built, you can close the “Interactive Map” window after setting your desired location.
Step 8 – It’s time to choose the type of “Template” you want
TerraWorld Lite includes some pre-designed graphs called “Templates”. Users can select any of these templates as a base and make own changes.
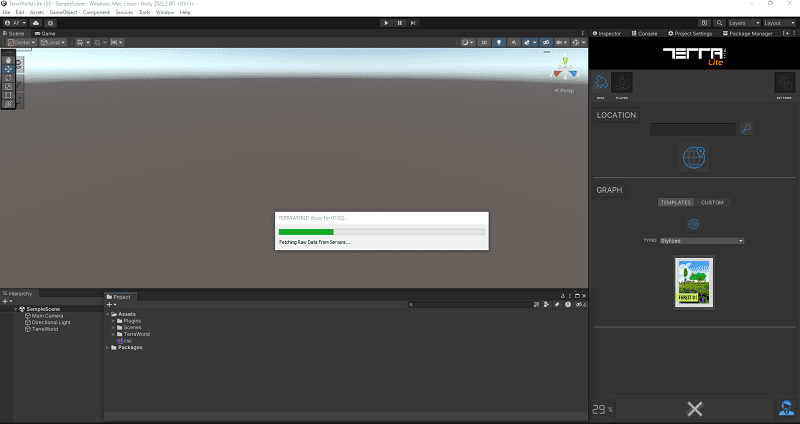
Step 9 – Sync Templates from server
Press the sync button to get the Templates List Note: Loading any of the Templates will overwrite all options except Area Selection and General Settings tab
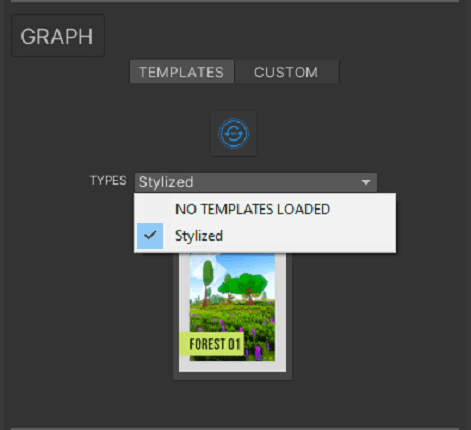
Step 10 – Choose Template Type
You can select any type of these templates on drop/down menu
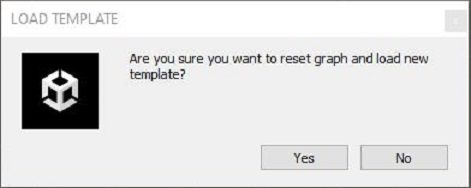
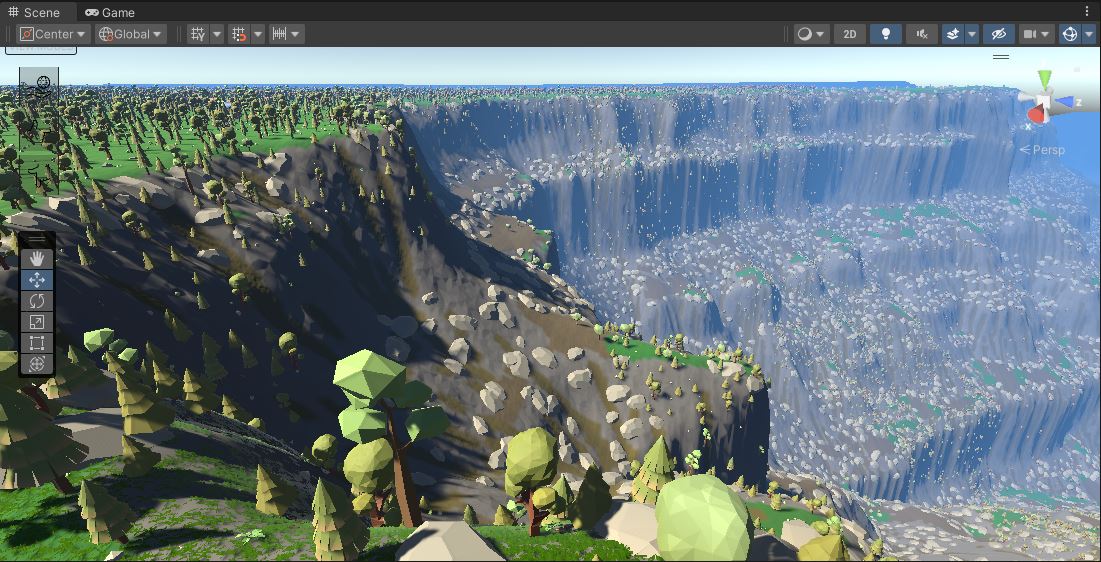
Step 11 – Generate Selected Template
By clicking on the desired template , the process will run automatically and your world will be created.